Introduction
If you are learning best by practicing, then you will love this project-based exploration of the latest features added to Expo SDK 49.
In this tutorial, we will put Expo SDK 49 into practice and will build a simple application to experiment with the new updates. We will build an app that will show Astronomy Pictures of the day using NASA API. It will be a lot of fun 🤩
Asset Bundle
The Asset bundle contains some pre-made components and files that will help us move along faster and stay focused on the Expo SDK 49 updates.
Download Asset BundleCreate a new Expo SDK 49 project
Let’s start with initializing a new project
npx create-expo-app@latest ProjectName -t blank@sdk-49
After the project is set up, open it in your editor of choice.
Setup Expo Router
https://docs.expo.dev/routing/installation/
Install Router dependencies:
npx expo install expo-router react-native-safe-area-context react-native-screens expo-linking expo-constants expo-status-bar react-native-gesture-handler
Install dependencies for web support
npx expo install react-dom react-native-web
Enable Typescript by simply renaming App.js to App.tsx.
Run the application
Let’s start the development server by running npm start in the root directory of the project.
We will be asked to install typescript dependencies, so just press y.
Now, we can run the app on either a physical device (using the Expo Go app) or on a simulator. We can also run it on the web, by simply pressing w in the expo cli.
Create a simple app
Let’s follow project-based learning to discover the new features of the Expo.
For this use case, we need a simple application that will include some network requests as well.
Let’s use the Nasa API to render a list of APODs (Astronomy Photo of the Day). The API is public and everyone can follow along.
Import premade component
Import the src folder from the Asset Bundle inside our project. It contains some pre-made components to display the APODs, and some network requests as well to help us fetch the API.
Render a list of astronomy pictures
Inside our app/index.tsx let’s render a FlatList of APODs
import { FlatList, ActivityIndicator } from "react-native";import { useEffect, useState } from "react";import apodsJson from "../src/data/apods.json";import ApodListItem from "../src/components/ApodListItem";import FullScreenImage from "../src/components/FullScreenImage";import { fetchApods } from "../src/api/apods";import { Apod } from "../src/types";export default function ApodsScreen() {const [apods, setApods] = useState<Apod[]>(apodsJson);const [activePicture, setActivePicture] = useState(null);useEffect(() => {fetchApods().then(setApods);}, []);if (!apods) {return <ActivityIndicator />;}return (<><FlatListdata={apods}renderItem={({ item }) => (<ApodListItemapod={item}onImagePress={() => setActivePicture(item.url)}/>)}/><FullScreenImageurl={activePicture}onClose={() => setActivePicture(null)}/></>);}
Env variables
Expo SDK 49 introduces first-class support for environment variables. Now, we can create .env files to store semi-protected variables.
If we prefix our variable names with EXPO_PUBLIC_, then they will be included in the app binary when built.
Let’s create a new .env file, and add our Nasa API Key
EXPO_PUBLIC_API_KEY="DEMO_KEY"
As we can see inside src/api/apods.ts, we can access the env variable using process.env.NAME (ex: process.env.EXPO_PUBLIC_API_KEY)
❗ Don’t use EXPO_PUBLIC_ env variables for secret values. They are included in the app binary, and they can be easily decoded.
Debugging
Debugging has been giving a lot of headaches to React Native developers, and it has been reported as one of the biggest issues during the State of React Native survey.
With Expo SDK 49, things are getting better.
JS Debugger with Network Inspect
Let’s open the JS Debugger by pressing J in the expo cli. We can right away see that we have a new debugging tab "Network".
Now we can debug why network requests fail, inspect the data your receive, and even see images loaded over the network

React DevTools
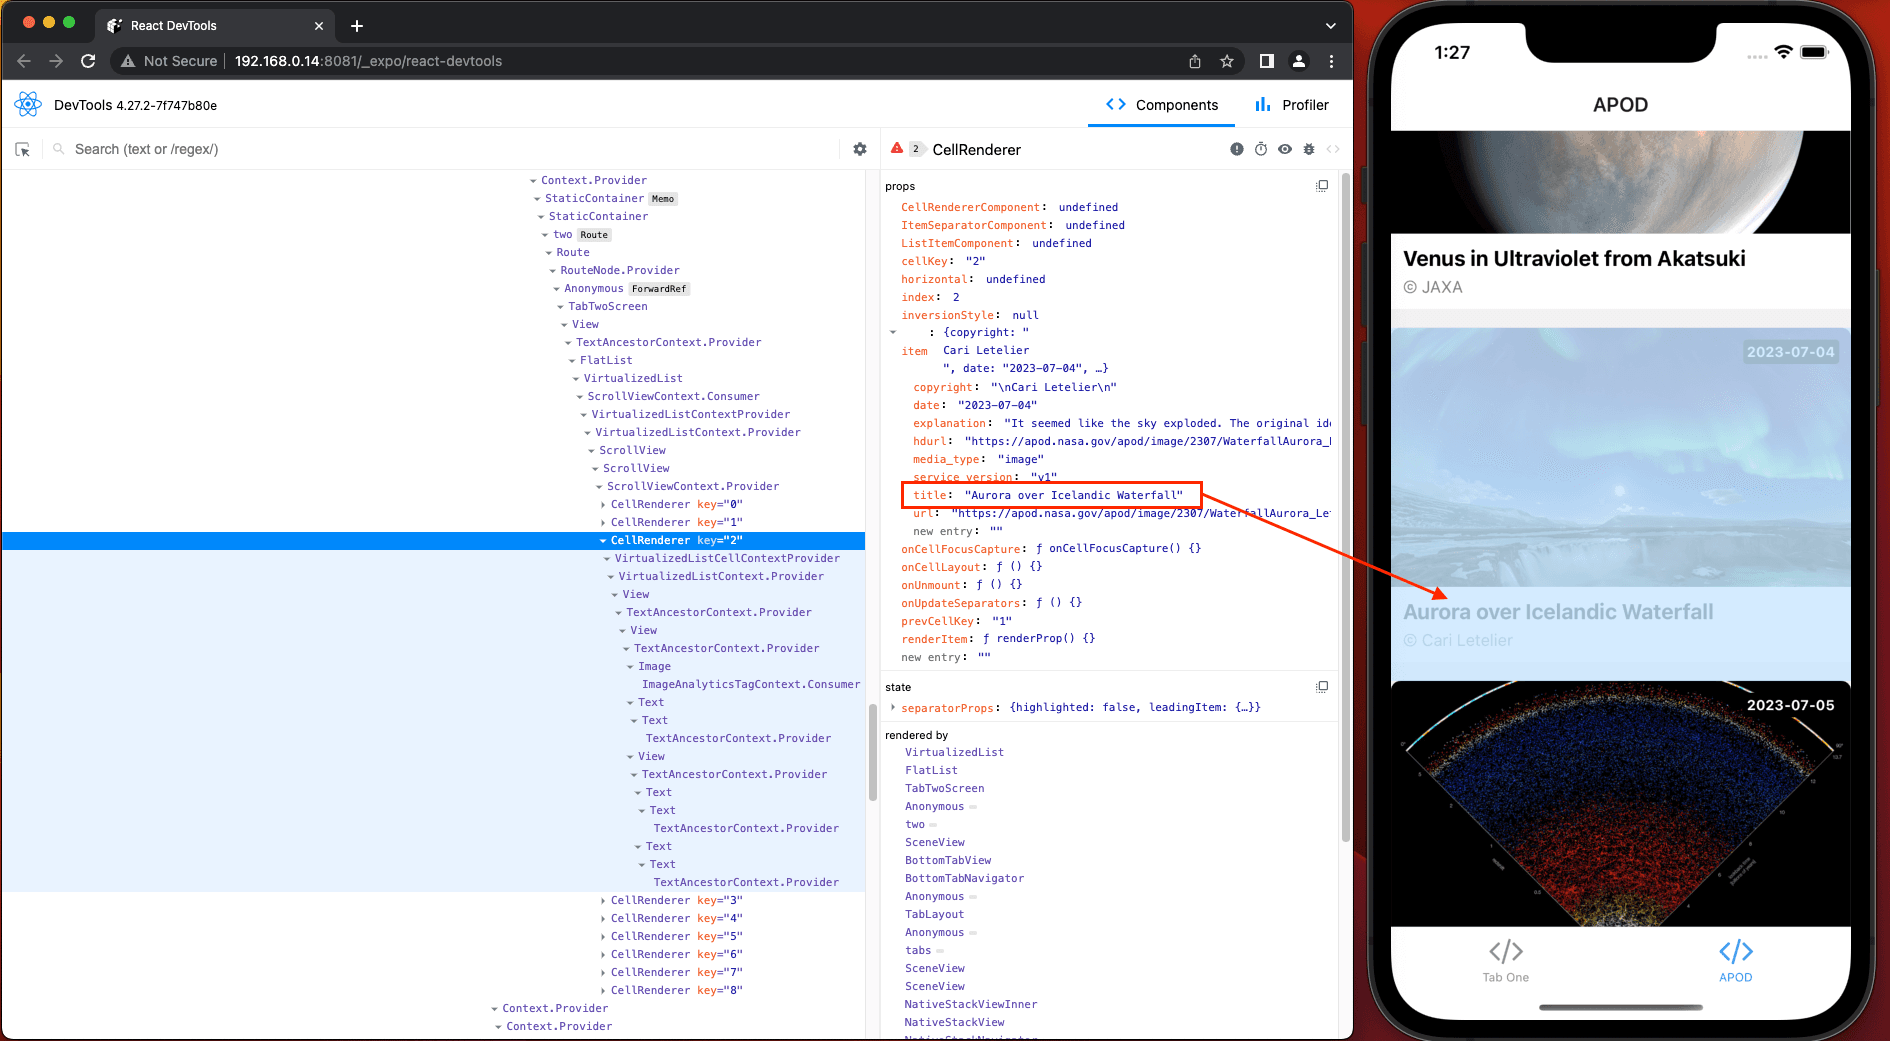
React DevTools is now built-in in, and to open them, simply press shift + m inside expo cli, and select "Start React DevTools"

Expo blur on Android
https://docs.expo.dev/versions/latest/sdk/blur-view/
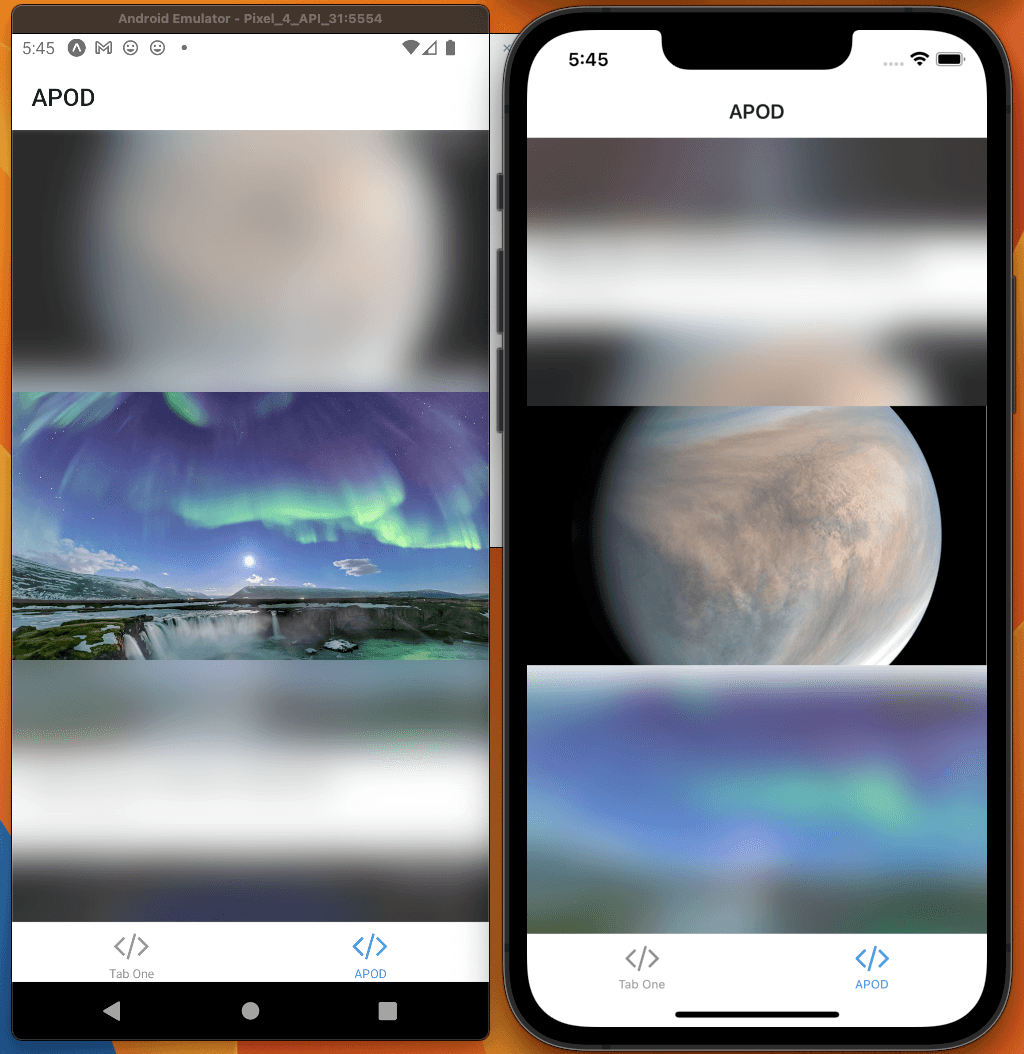
To see the Expo blur in action, let’s make the FullScreenImage have a blurred background.
npx expo install expo-blur
Then, import the BlurView and replace the root View inside src/components/FullScreenImage.

⚠️ BlurView on Android is computationally expensive, so it is recommended not to render more than a few BlurView components at once.
Local native modules
Local Expo Modules allows us to add native functionality to the expo app, without having to create separate libraries.
Expo Go runs Natively on Mac without a simulator
You can download and install the Expo Go application natively on macOS using this Testflight build.
This is great for people running on older macOS devices, that struggle to run the ios Simulator from Xcode.
New to EAS: Insights
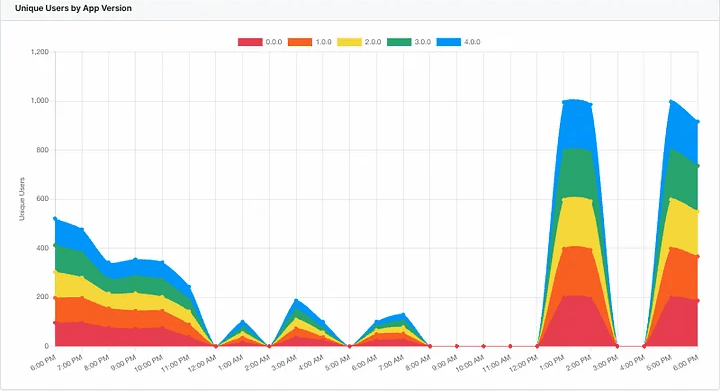
EAS Insights will provide detailed insights about your app usage.
- Will work out of the box if you are using EAS Update, for limited insights
- Add the expo-insights to your project for more precise usage metrics
- Read more in the docs

Other updates introduced in Expo SDK 49
- Selectively opt out of package version validations compatibility with Expo SDK
- scheme in app config can now be an array (ex: scheme: ['fb', 'facebook'])
- Experimental support for Fabric in expo-dev-client
- TypeScript ^5.1.3
- React Native 0.72.3, React Native Web 0.19.6
- Dropped SDK 46; will drop SDK 47 and 48 next release
Upgrading an app
Upgrading an Expo app is much easier than upgrading a React Native application. Because of that, I recommend spending a couple of hours today upgrading your Expo app to SDK 49.
This will also save you some time in the future because the older version of the SDK won’t be supported for long.
Let’s follow this guide from Expo on upgrading our app and trying it with a real application.

